 +420 571 612 420
 gds@gds.cz

 EN
EN
 CZ
CZ
 hu
hu
 bg
bg
 fr
fr
 ro
ro

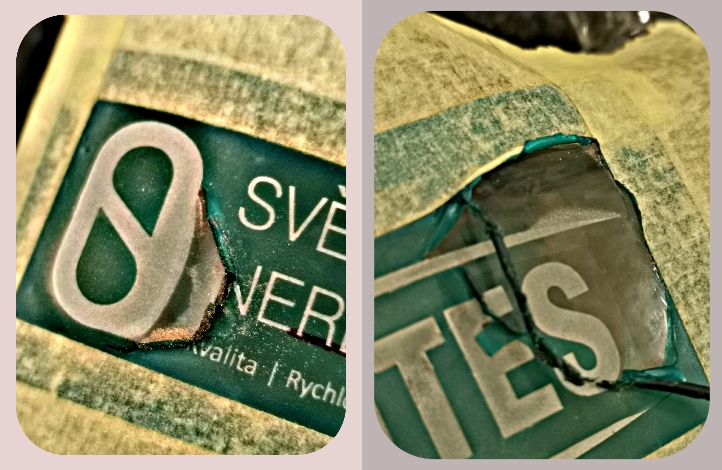
Surely, sometimes you will find that during sandblasting the motif is sandblasted, the template is blown or the logo is deformed in some other way that you have to sandblast the material all over again. This problem affects probably all of us and is quite understandable with handmade work. But sometimes we cannot afford such a mistake, for example because of the high price and uniqueness of the sandblasted material.
1. Material temperature
Especially in the winter months, the material to be sandblasted can often be stored in unheated rooms and take on the ambient temperature.
In these cases, it is necessary to bring the material into a room that is at room temperature (18-22°C), so that the stencil has no problem adhering and stays firmly in place.
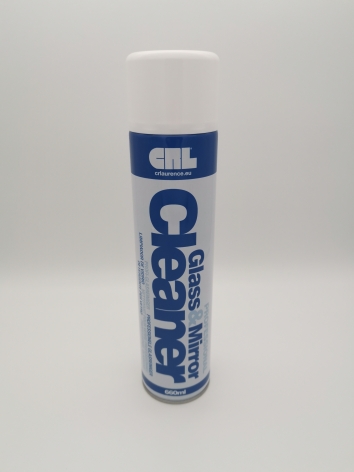
2. Degrease the material well
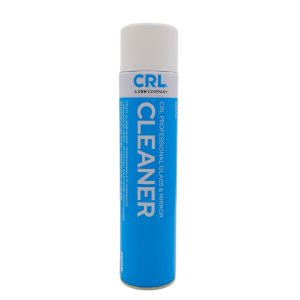
Sometimes people mistakenly think that glass or other materials can be considered clean after polishing with a cloth, but this is not the case. Dust particles need to be removed with a damp cloth, preferably in combination with a glass cleaner, which will also remove any grease, fingerprints and clean the glass perfectly.
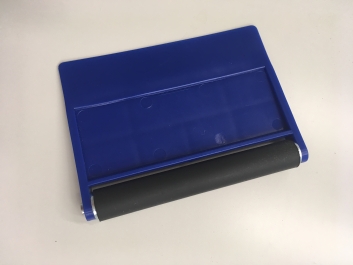
3. Press the stencil firmly on the sandblasted material
After applying the template, make sure that the template is sufficiently tamped. To do this, you can use a pressure roller to apply even pressure across the entire surface of the stencil. You can tell if the stencil is properly adhered to the material by the fact that when the top, transparent cover film is removed, the bottom, coloured film does not peel away from the surface of the material and holds firmly. TIP : Leave the stencil stuck to the material for at least an hour, its adhesion will increase due to the absorption of ambient moisture.
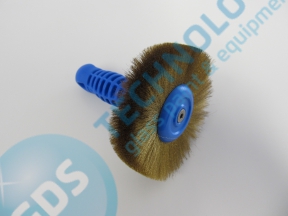
4. Eliminate bubbles
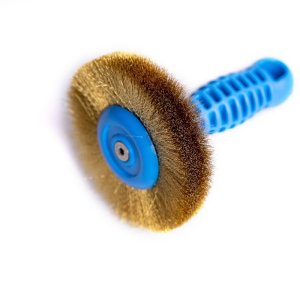
Poor quality application can cause bubbles to form under the film - the biggest risk for blowing the film or sanding the film where you don't want it. Use a rubber pressure roller to push out bubbles, applying even pressure to the stencil. NOTE: Do not push the bubbles from one edge to the other, but from the center of the stencil to the sides - this will not "bunch" the bubble in front of the roller and will not ruin the stencil. TIP FOR YOU : Use the BubbleEx roller - run the brush gently over the entire surface of the motif, the bristles of the brush will pierce the bubbles and the stencil will stick to the material in these places. After ovaling the brush, press the stencil with the roller again.
5. Blast in the right direction
When blasting the material, make sure to set the correct pressure in the sandblasting cabin (different for injector and pressure system), keep the nozzle perpendicular to the material and at a distance of 5-10 cm. WARNING : Beware of mixing different types of abrasives together - this can cause larger grains to damage your film and sandblast the motif where you don't want it.


 Settings