What you should know before you start sandblasting photos

In the early days of sandblasting, perhaps nobody even thought of sandblasting photographs. With the advent of plotter stencils, one can already speak of an attempt to convert e.g. portrait photographs into sandblasted form by converting them into curves. But it was still not about sandblasting photos in the form of a grid.


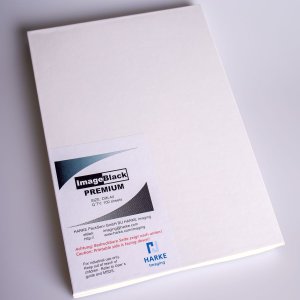
However, with today's UV photosensitive sandblasting stencils, photographs can already be effectively reproduced by sandblasting. And it doesn't even have to be much more difficult than sandblasting simpler motifs. You just need to be careful about a few things:


Select a photo editing program:

First of all, it is important to get a photo editing program. There are plenty of options on the market. We have a lot of experience with photo editing in CorelDRAW, which has worked very well for us. We can definitely recommend it.


Quality draft:

A quality draft is the basis for a good result. But what does "Quality" mean? Firstly, it is a resolution parameter, most often specified in DPI (for photography we recommend at least 300 DPI). But what is harder to describe is the actual composition of the photo, especially in terms of contrast. The choice of the background of the photo is very important, but also the clothing in the case of photographs of people. In general, however, the photo should not be too white or too black.

Poor quality draft

Quality draft

What type and size of grid to choose:

There are many types of rasters. Also, its fineness vs. coarseness affects the final effect. However, there is not just one correct setting.

Raster by size

e.g. for all-glass doors, use a rough grid. If we chose a raster, from a distance the graphics would "blend" into one unformed whole. Conversely, the smaller the product we sandblast, the finer the raster we can choose.

Raster by material
For example, a "mottled" stone such as granite requires a coarser grid. Tip: by colouring the sandblasted grid, you will enhance its contrast


Raster types:

Regular grid (e.g. circle, line, ellipse, diamond ...), scattered grid, or Jarvis look different. A line raster, where the angle of the lines also plays a role, will look different. All of this will affect the result and it is often up to individual judgement or personal preference which final choice you opt for.


Foil type:

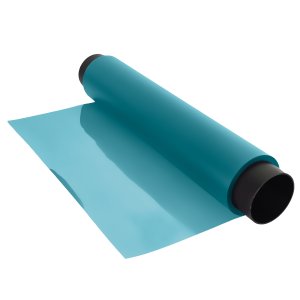
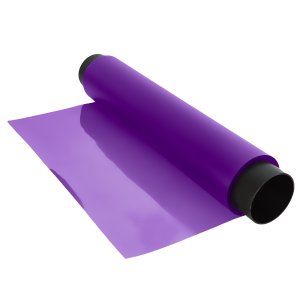
If you choose to sand in stone, we recommend UltraVinyl. When working with glass, either APM R3 or APM R5 is suitable for deep sandblasting.


Type or coarseness of abrasive:

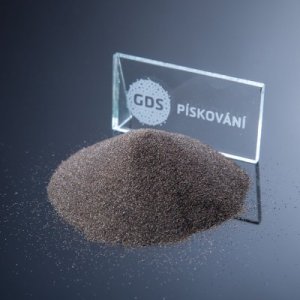
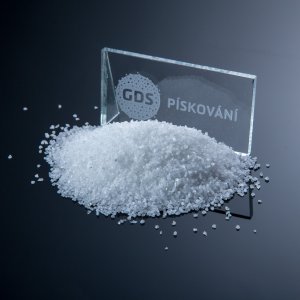
Fine abrasives should also be selected for sandblasting fine grits. E.g. from 180 to 260.


Pressure and air quality:

o  the fine grid may be prone to chipping
o condensate will form a clump of abrasive and this can then "sand off" part of the grid


Blasting method:

Sand perpendicularly – this is true in sandblasting in general, and doubly so in raster sandblasting.
It is better to return to the spot more than once than to remain standing for a longer period of time.


Fingers crossed and if you don't know what to do, give us a call: +420 571 612 420


If you are going to sandblast photos for the first time, we recommend our training program. We will show you how to do it and you can also try sandblasting yourself.

cookie

Používáme cookies

Ano, souhlasím Nesouhlasím Nastavení
close

Nezbytné (technické)

Preferenční (funkcionální)

Statistické (výkonnostní)

Reklamní

close

Cookies