 +420 571 612 420
 gds@gds.cz

 EN
EN
 CZ
CZ
 hu
hu
 bg
bg
 fr
fr
 ro
ro

Before applying the adhesive, always check that the parts to be glued together fit exactly. To check, it is advisable to assemble the whole object experimentally.
To remove condensation from air moisture, we recommend that the joints are briefly heated with a heat gun (approximately 5 seconds) before gluing. If more than 5 minutes elapse between heating and application of the adhesive, the heating must be repeated.
Gluing should be done in a horizontal position if possible, as vertical glue application can lead to potential problems.
Excessive glue reduces the strength of the joint and increases the cost of subsequent removal of excess glue.
Assemble the glued parts in such a way that no tension is created (no pressure), so that the glue is spread evenly in the joint.
Apply a sufficient amount of glue at the start of the job. Visible air bubbles can be removed with a pin. The glued parts should float freely on the glue layer.
Apply the glue as follows:
- without air bubbles,
- on one side,
- in sufficient quantity.
A. Applying the adhesive before assembly
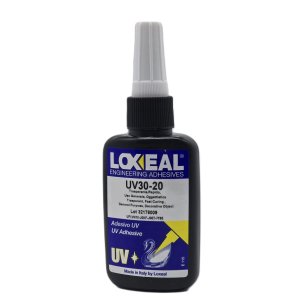
Applya thin strip of medium viscosity adhesive one side of one of the parts before assembly.
For printed circuit boards, always apply adhesive before assembling the parts:
- when gluing horizontally, if one part is carefully and evenly placed on top of the other, the parts will adhere to each other without creating bubbles in the adhesive layer.
- the adhesive is thus spread over the entire glued surface due to the inherent weight of the part to be laid
B. Applying the adhesive after assembly
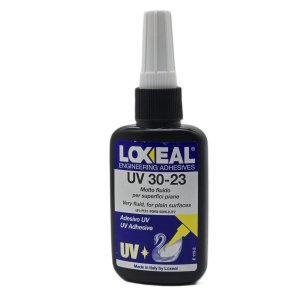
When using Loxeal UV 30-23 low-viscosity adhesive (for glass up to 6 mm thick), the parts can be assembled first and then the adhesive applied from the side. The joint is filled due to the adhesive's buoyancy.
- For multi-part objects, always work on individual parts one at a time (not simultaneously)
- for better adhesive flow and more comfortable working, the bottom surface can be tilted by approx. 15-20 degrees (while maintaining the desired joint angles, of course)
Before curing, visually check that the adhesive is applied evenly over the entire surface.
This topic is also part of our "Glass Bonding" seminar in our GDS Academy.
Article written by:
Martin Valášek
Flat glass, paints, UV adhesives
technical support, blasting systems


 Settings