Are you planning to rebuild or revise the sandblasting workshop? Then this article is for you.
What does an ideally equipped glass sandblasting workshop look like and what shouldn't be missing?
Location:
A well-equipped and well-run sandblasting workshop is always a source of dust to some extent! Therefore, consider its location in relation to the whole operation. For example, it is definitely not recommended to place it next to the spray shop, where a very clean and dust-free environment is required.
You will need compressed air to operate the sandblaster. That is, a compressor. This is generally a source of noise. It is therefore ideal to locate the compressor in another part of the building and to bring the air into the workshop via a duct. Of course, there should be a skimmer in front of the box and ideally a dryer (de-icer) near the compressor.
Note: the requirements for the sandblasting workshop are also determined by the product to be sandblasted. In the case of sandblasting flat glass or for sandblasting stone tombstones, the requirements for space, handling and the design of the sandblasting machines will be different than for sandblasting conventional products.
Sandblasting workshop zones:
The workshop can be divided into the following zones.
Zone 1.) Production / preparation of sandblasting templates
Zone 2.) Unpacking of decorated objects, application of sandblasting stencils
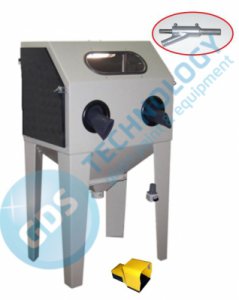
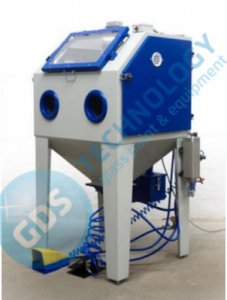
Zone 3.) Sandblasting Zone. Place with sandblaster(s) where sandblasting will be realised
Zone 4.) Washing, packing. The sandblasted products need to be cleaned of sandblasting stencil residue and abrasive dust. Subsequently pack.
Depending on the size of the operation and the space available, the individual sections can be in separate rooms, or partially shared, or completely together. However, if you have the option, try to place the sandblaster in a separate room.

> Ad) Zone 1 - PRODUCTION / PREPARATION OF SANBLASTING STENCILS
If you use custom-made templates, there's not much to worry about. You can get by with a workbench. Scissors and ideally a cutter will be great helpers.
If you want to prepare the templates yourself, the equipment needed depends on the template technology you want to use. However, you will certainly need a PC on which to prepare the graphics. This workstation can be separate, or if the sandblaster is in a separate room, it can be part of, for example, Zone 1.
If you are working with UV photobrasive sandblasting stencils:
In case you are going to make your own UV photo sandblasting stencils, you will need the following things.
- A stock of UV foils (there are several types of UV foils and each one excels in some parameters)
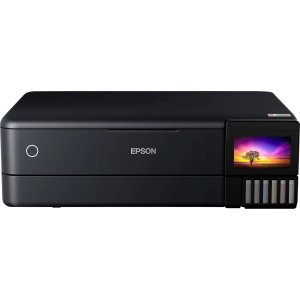
- A stencil printer (inkjet, possibly laser ... Note: not all printer types and models are suitable!)
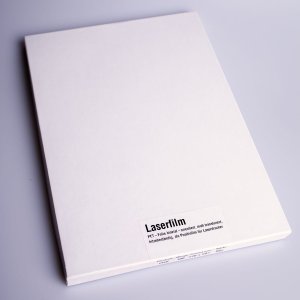
- Printing foils for the printer
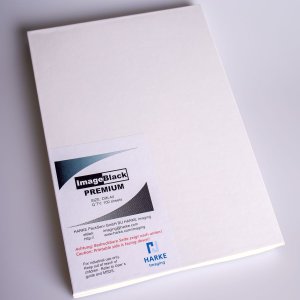
- Proofing foils
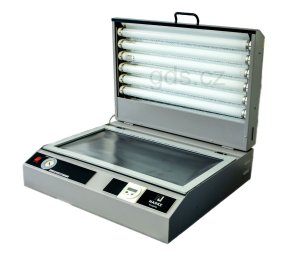
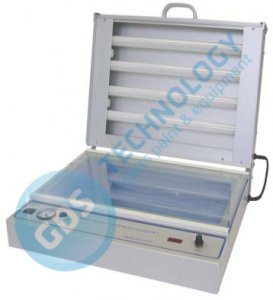
- UV illuminator
- Wash box (not needed if RapidMask films are used)
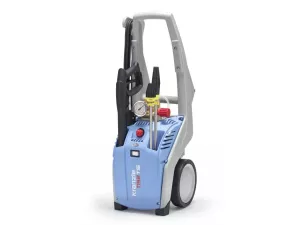
- Pressure Washer (not needed if RapidMask films are used)
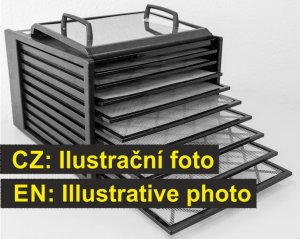
- Dryer (not needed if RapidMask films are used. Note: but even washable films will dry at room temperature, they just take longer)
Note: if you work with RapidMask UV films (the ones that do not need to be washed), you will need to ensure that the production area is not exposed to UV radiation (RapidMask film is photosensitive at all times). For this purpose, you can use:
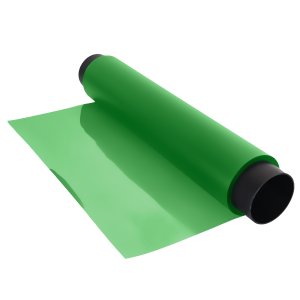
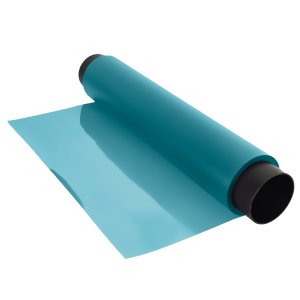
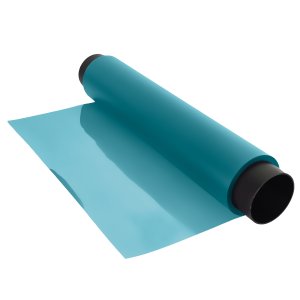
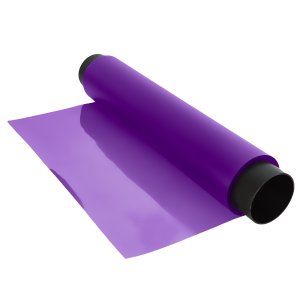
- UV filtering transparent window films (you can also use them to cover some types of fluorescent lamps).
- Fluorescent tubes that do not emit UV radiation (if the production is illuminated by fluorescent lamps, just change the tubes)
 +420 571 612 420
 gds@gds.cz


 EN
EN
 CZ
CZ
 hu
hu
 bg
bg
 ro
ro






 Settings