 +420 571 612 420
 gds@gds.cz


 EN
EN
 CZ
CZ
 hu
hu
 bg
bg
 fr
fr
 ro
ro


RapidMask film is suitable not only for flat surfaces but also for curved and complexly shaped glass products, on which it is commonly and reliably used.
The most important factors are choosing the right type of film and the method of application. With the proper technique, a high-quality sandblasting stencil can be created even on glasses and other products with significant curvature.
What is RapidMask?
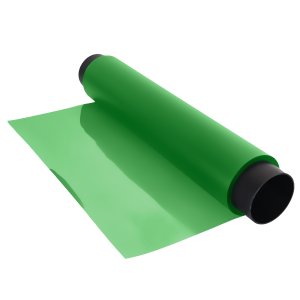
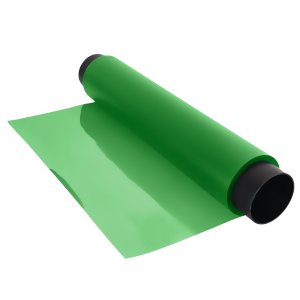
RapidMask is a self-adhesive UV sandblasting film processed using a dry method. When creating a stencil, there is no need for a washing phase or subsequent drying, which can significantly simplify and speed up the entire stencil preparation process.
How does RapidMask work?
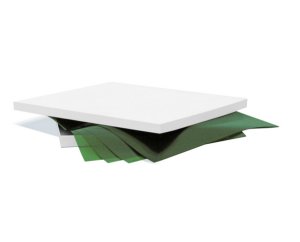
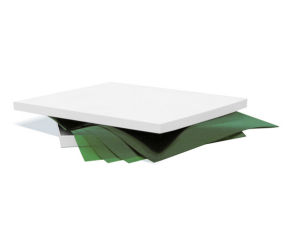
RapidMask works on the principle of UV exposure. A print master is placed on the green photosensitive film, and the film is then exposed in a UV curing unit.
UV radiation acts on the parts of the film that are not covered by the black ink of the print template. In these areas, the polymers cross-link, the material becomes brittle, and its color changes from green to blue.
The black areas of the print template block the UV radiation, so the green layer of the film beneath them remains intact. After exposure, a design is created that serves as a stencil for sandblasting.
Using RapidMask on Curved Surfaces
RapidMask is available in two thicknesses:
RapidMask HD 50 µm
RapidMask HD 50 µm is a thinner version designed primarily for fine details, halftone designs, and high-detail graphics.
Thanks to its thinner gauge, the film is more flexible and better adapts to the shape of the substrate. That is why we also recommend it for application on more complexly curved glass surfaces, such as wine glasses.
RapidMask HT 100 µm
RapidMask HT 100 µm is a thicker film with higher adhesion, suitable primarily for deep sandblasting.
Both variants—RapidMask HD 50 µm and RapidMask HT 100 µm—can be used on simply curved surfaces.
However, for more pronounced or complex curves, the thinner RapidMask HD 50 µm is more practical.
How to Apply RapidMask Stencils to a Complexly Curved Surface
When applying the RapidMask HD 50 µm film to a complexly curved surface, we recommend starting in the center of the design and working toward its edges.
Gradually press down on the film and smooth it outward so that it conforms as closely as possible to the shape of the glass.
After application:
-
start pressing the template in the center of the design,
-
work gradually toward the edges,
-
thoroughly smooth out the stencil to match the shape of the glass,
-
remove the backing film,
-
carefully press the decal down again, starting from the center and working toward the edges.
This method helps minimize wrinkles and allows the film to better conform to the curved surface.
However, the specific application method must always be adapted to the shape of the product, the size of the design, and the degree of curvature of the glass.
Which RapidMask film option should you choose?
For a basic guide, the selection can be summarized simply:
-
RapidMask HD 50 µm for fine details and more complex curved surfaces
-
RapidMask HT 100 µm for higher adhesion and deep sandblasting
-
Both variants can be used on simply curved surfaces
If you’re unsure which film is more suitable for a specific application, we recommend considering not only the desired sandblasting depth but also the shape of the product being decorated.
Need advice on applying RapidMask?
If you have further questions about RapidMask films or need advice on using them on curved glass, check out our FAQs on RapidMask films or contact us.
We’d be happy to help you choose the right film option and recommend a procedure for your specific product type.
Article written by:
Katarína Porubová
Sandblasting Stencils, Custom Decals


 Settings